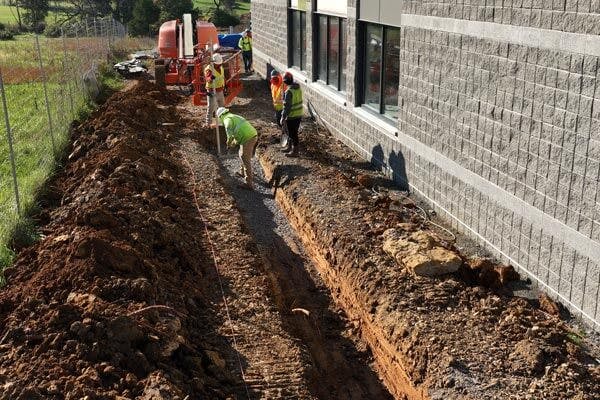
INSTALLING NOVUM WALL
BOOST EFFICIENCY AND EXPAND YOUR OPPORTUNITIES WITH NOVUM WALL
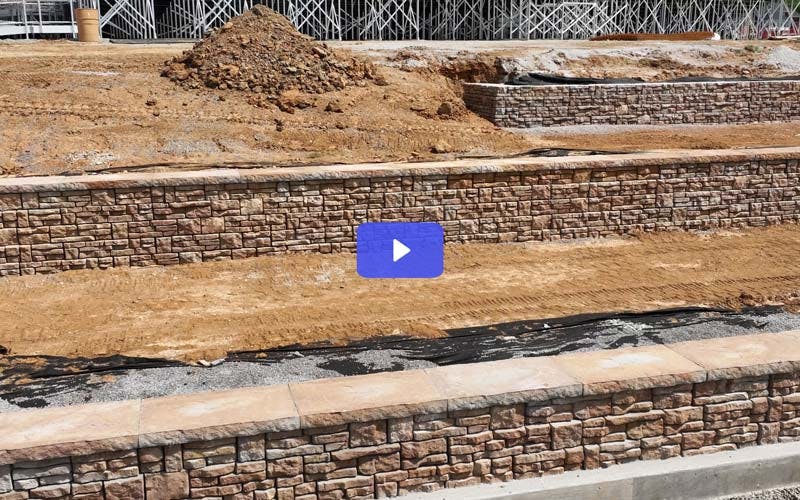
Build faster and smarter with Novum Wall. Its simple, reliable installation helps you complete durable retaining walls quickly—keeping your crew productive, your projects on schedule, and your business growing.
PROCESS OF INSTALLING NOVUM WALL
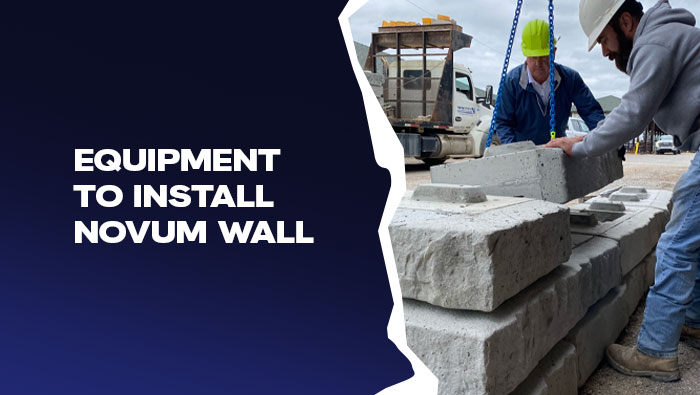
WHAT DO I NEED TO INSTALL NOVUM WALL?
WHAT CONTRACTORS HAVE TO SAY
“Novum Wall is a great system to work with. It fits great into situations that were previously only doable with a small dry cast block. Unlike small dry cast blocks, Novum is quick and easy to set without breaking your back and has a much better appearance.”

Jason Anderson Anderson Contractors
"Novum Wall has all the pieces needed, including corners, caps, and halves, to build complete walls. It's great for creating radiuses, as well. Being a 9-in block and pretty light, Novum is a great system for residential projects. The system brings a high-end look that fits the market and is easy to install."
Mike Sketo Landmark Outdoors

FINISH FASTER, STAY ON BUDGET, AND BUILD YOUR REPUTATION
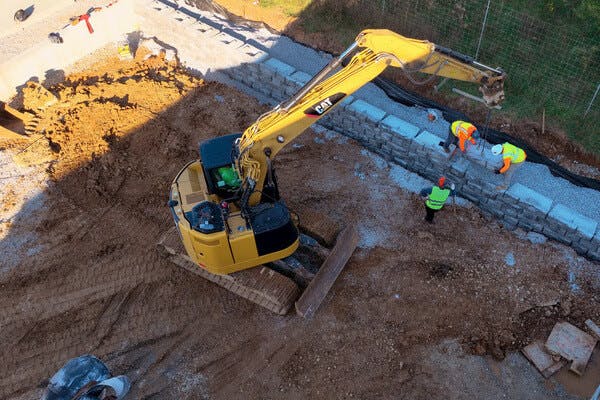
You need solutions that keep your crew moving and your schedule on track. That's where Novum Wall comes in. Designed to make your job easier, its reduced size and lighter weight allow you to use nimble equipment like skid-steers and mini-excavators, even in the tightest spaces.
With Novum Wall, you and your team can get in, get the job done, and move on to the next project without the usual headaches.